This article will show you how to create training sessions over one day or several days, and add users to thesetraining sessions.
Pre-requisite : you must have created at least one training event to be able to create a session. Check out this guide if you haven't created an event already.
Create the training session
Create your training session via the menu Learning Administration > Manage Events and Sessions.
Create a session over one day.
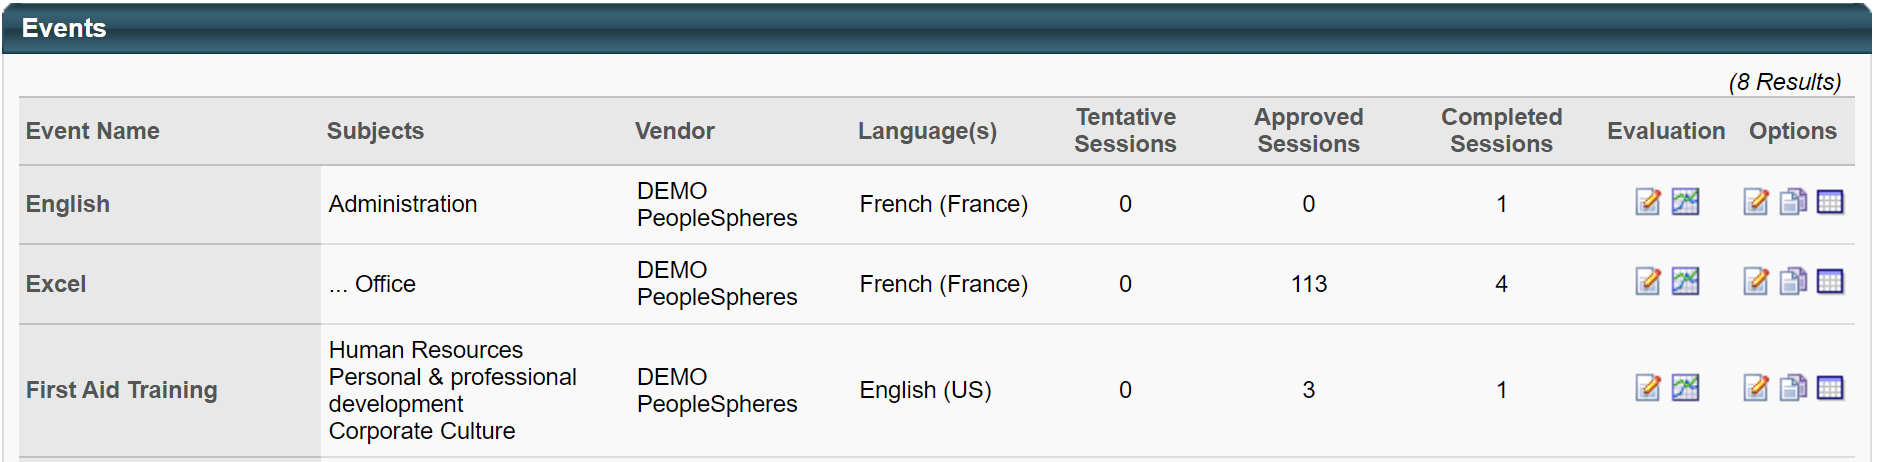
On the line corresponding to your event, select the Calendar icon on the right-hand side:
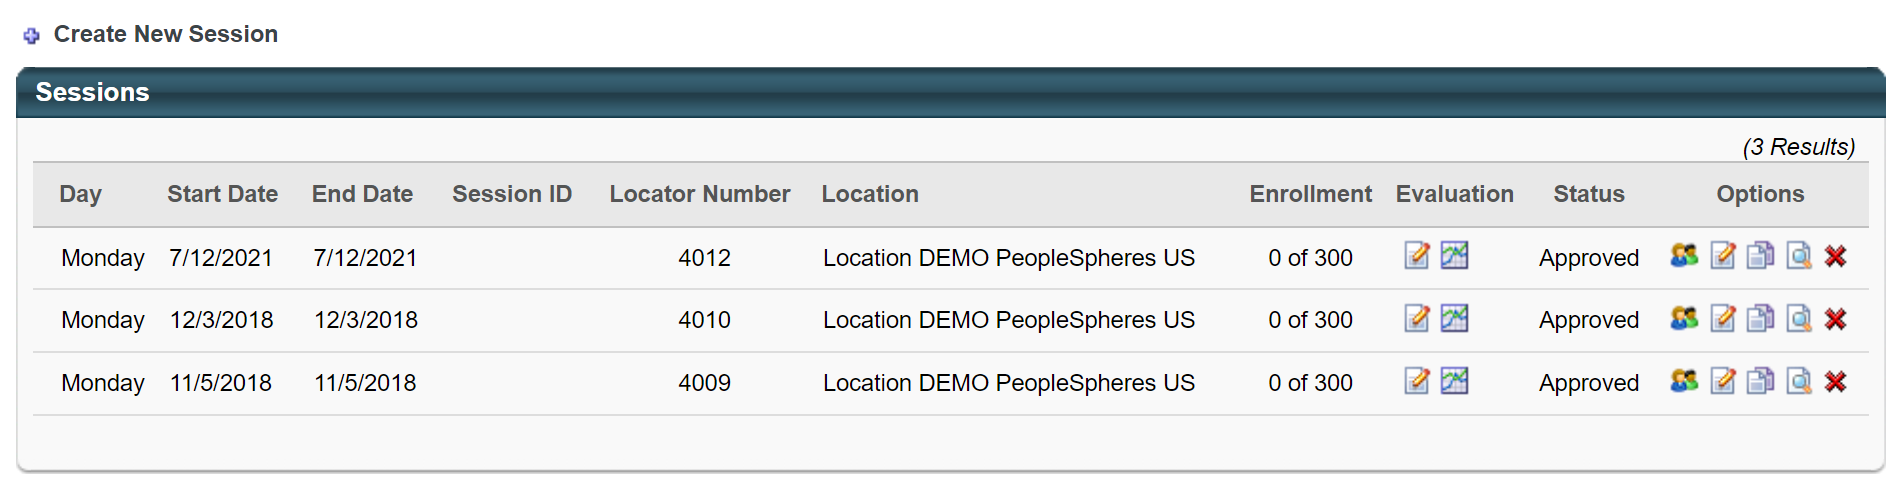
Then click on the + Create New Session
In the Schedule Wizard tab, select Once and select the Start Date of your training session.
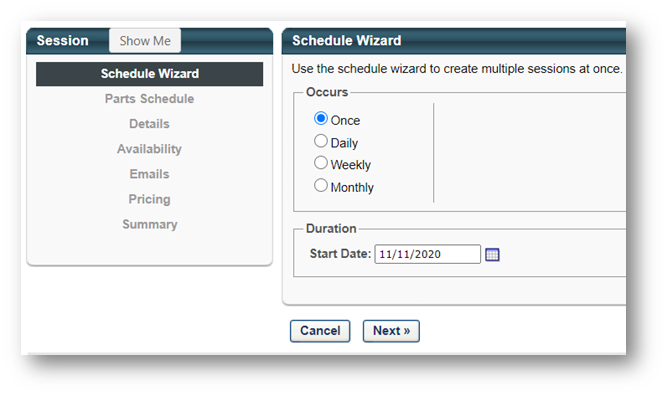
Click Next.
Parts Schedule
One session can be composed of several parts. One part can be a whole day, half a day, a few hours, etc.
It’s recommended to create one part per half day of training, especially if you want to manage attendance for each half day of training. Otherwise, you can create a part for each day of training.
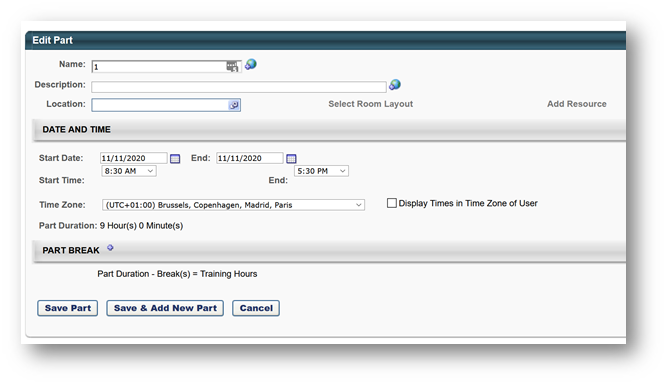
- Name: Type a name for the part
Example : if session is 1 day : Day 1 / if session is per half day : Day 1 - Morning
- Location: Choose the location of the training. Click in the Location Field, and search for the location of the training. Use the
 icon to show any child locations, and click the
  icon to choose the location. Please note that the locations have to be created before you create the session.
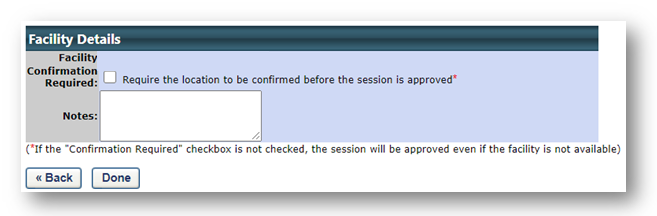
When the pop-up appears, click on « Done »
Do not check the box "Require the location to be confirmed before the session is approved"
Select start and end dates and times for the parts.
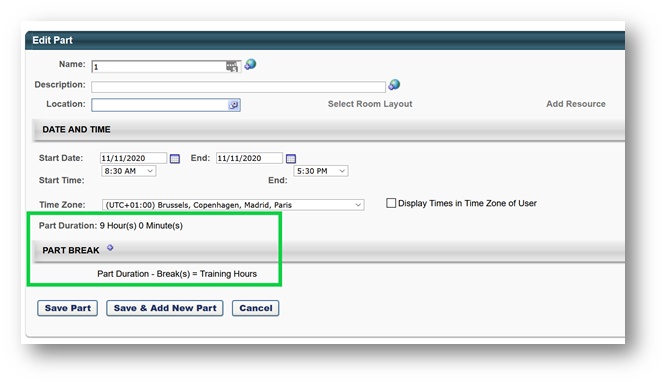
If you are creating a part for an entire day, you can add a break. The break time will be deducted from the training hours:
Click Save Part.
Note: if your training is scheduled for 2 days or more or if you want to manage your half-day training sessions:
- You must add a new part (to create a new day or a new half-day…) by clicking on "Save & Add a new part"
The system automatically positions the start/end date on the next day, fill in the information then click on "Save" if you have finished adding all your parts OR on "Save & Add New Part" if you need to add a new day of training ...
The page that appears summarizes the information entered beforehand:
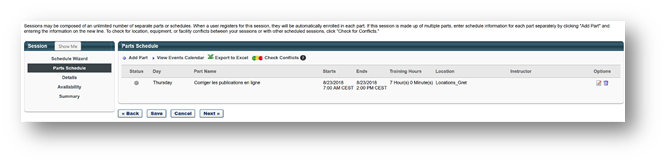
Click on Next.
Details
The details tab allows you to specify the elements specific to the training session. This information was previously entered in the event but can be modified here.
Availability
We note here that the availability is the same as that defined in the event.
This means that a user who is included in the availability will be able to see the session in the catalog and request this training session.
Summary
In this section, you can check all the settings you have made for the session.
In the Schedule area, you will see the list of sessions created if you used the Schedule Assistant to create multiple sessions at a time.
Click Save to create the session (s).
Activating Evaluations
If evaluations were not activated in the event, they are not activated in the session.
To activate them, navigate to your session, and click on:
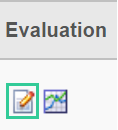
Check the "Active" boxes to activate the evaluations (Level 1 / Level 3) and Send.
Check out this in depth article to find out more.
Enrol the Participants
On the administration page of your training sessions, find your training session.
Click on the character icon:
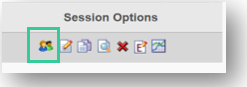
Click on Add Users:
 Search for and select the users with the + and then click on Done.
Confirm the final list, and then click Add Pending Users to Roster.